Create Your Parent Meeting Event
For Event Managers & Administrators
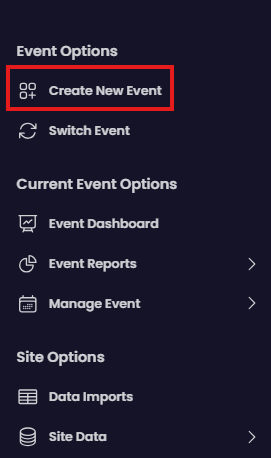
To enter the event setup wizard, select Create New Event from the navigation menu. The event setup has 5 steps.
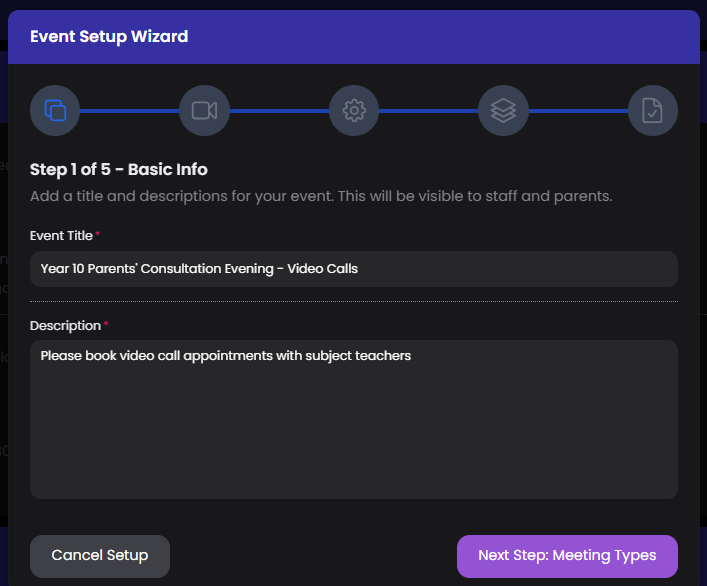
Step 1 - Basic Info
Add your event title and description. This is what parents will see in their invitation emails and login.
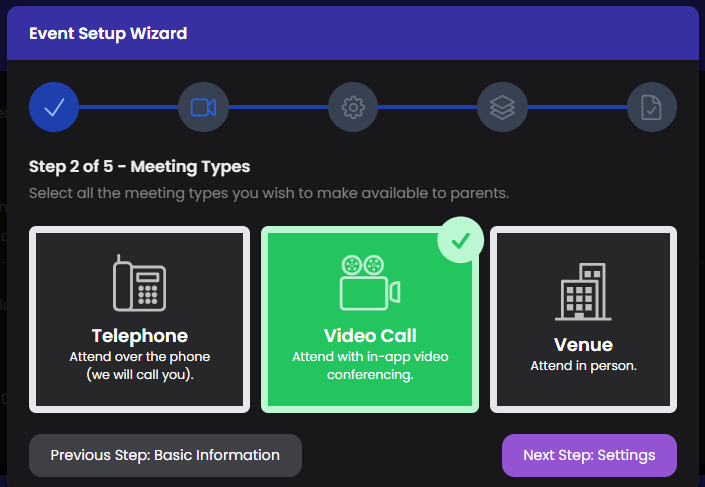
Step 2 - Meeting Types
Choose how you would like parents to attend the event. You can select more than one meeting type if required.
Step 3 - Settings
Extra settings are available for your event.
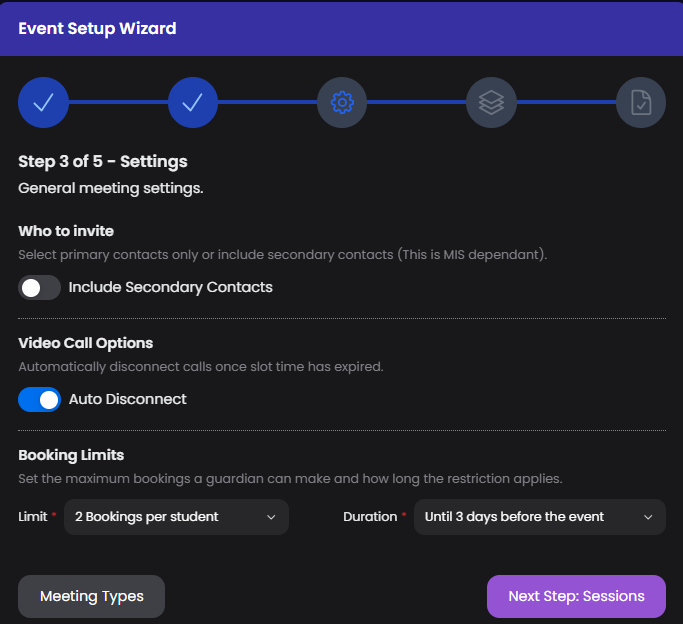
You can invite primary parent contacts (often priority 1) or extend to include secondary parent contacts (priority 2). Other priority contacts can be manually added later if needed (using Manage Groups - Invitations).
If you selected the video call meeting type, you can enable auto disconnect to ensure your video call meetings run on time.
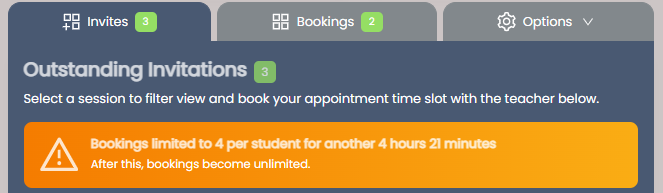
The Booking Limits setting can fix the number of bookings a parent can make for the entire event (per student) or throttle bookings when the event initially opens. This allows for greater fairness and helps more parents meet the teachers they want. For example, you have 13 subject teachers available but only want to allow parents to book with 3 teachers initially. When the limit passes, bookings become unlimited.
How the Bookings limits notification appears in the parent login:
Step 4 - Sessions
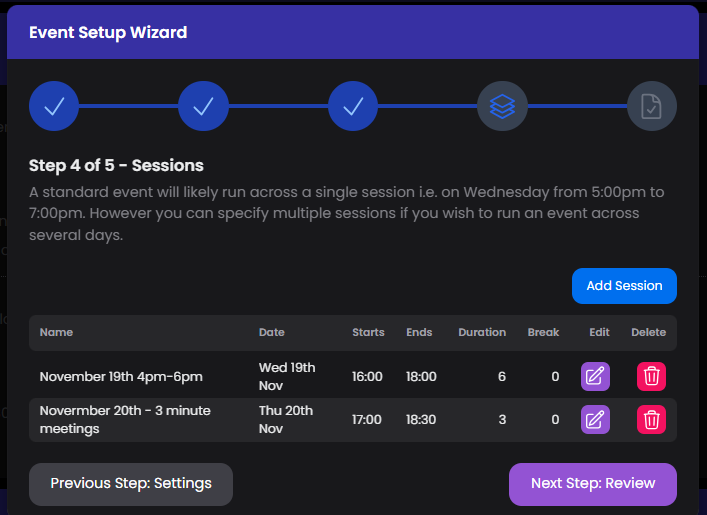
What date(s) and times do you want your event to take place? You can add multiple sessions and have different teachers available. When adding your session, provide a short name, start & end times, and a slot length. The slot length is how long each parent-teacher meeting will last. Only change break length when you want a changeover break between appointments (usually only required for venue events where parents need time to move between rooms).
Step 5 - Review & Create
See a quick summary of the event you are about to create. When ready, select Create Event. You will then be prompted to add your lesson/school groups to each session (Manage Groups).
Edit Event Details/Settings
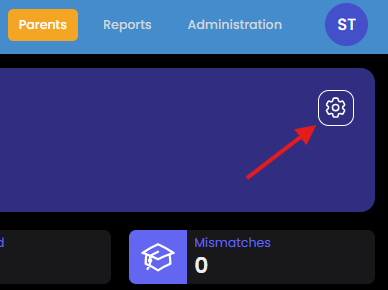
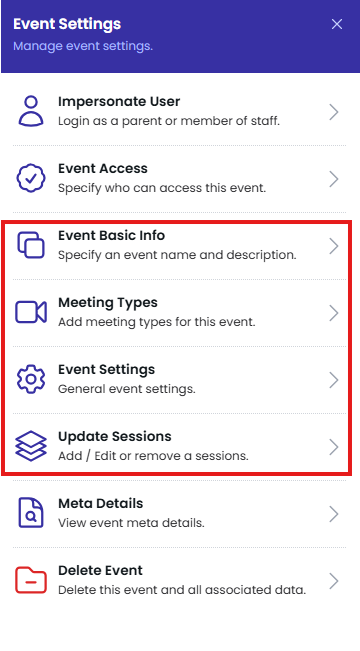
To change any event settings after creating, find the settings cog for your event. This is available on all event pages.