Manage Groups - event tools
For Event Managers & Administrators
Introduction
This article includes essential event tools to help manage your event. There are 7 Actions to consider...
Add/Edit Location
Edit Group Title
Duplicate Lesson(s)
Lesson Notes
Reassign Lesson
View/Edit Students
Make Bookings
These event actions are available for each group in the event. Go to Manage Event - Groups and choose 'Actions'
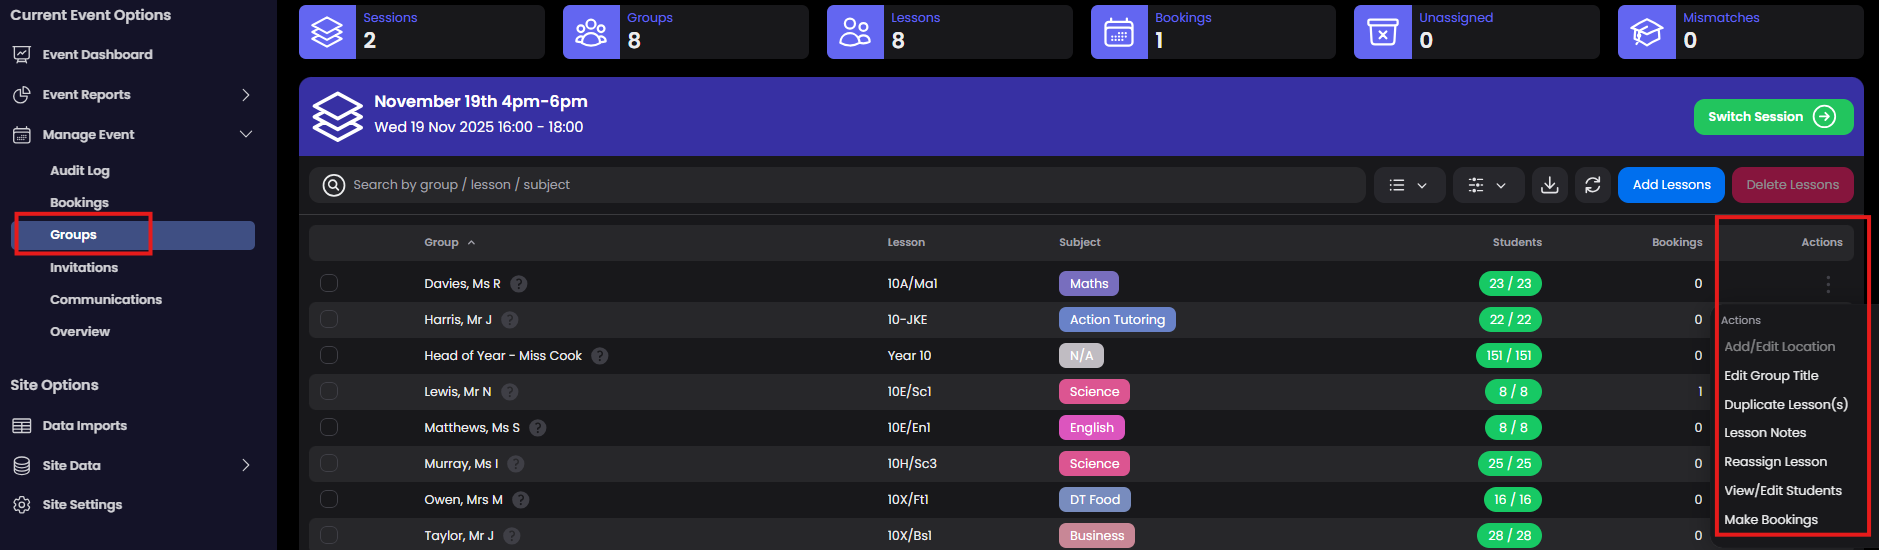
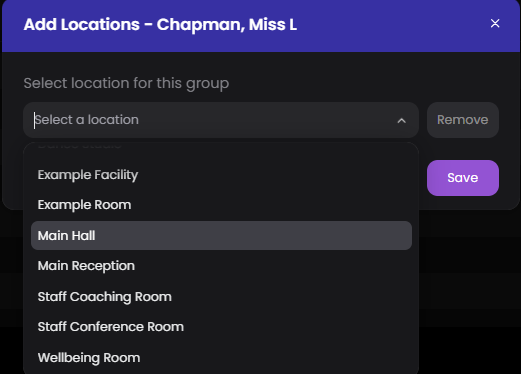
Add/Edit Location
When your event has an event type of 'Venue' you will be able to select a location (ie. a room) where the meetings will be taking place. This information is then included with parent booking itineraries.
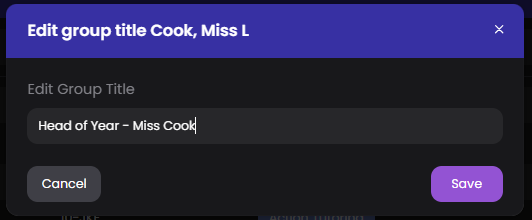
Edit Group Title
All groups are named based on the class teachers names. In some situations you may want to create a custom group that has a different title (for example for meetings with Head Teacher or SEN). If you are changing the group title you may also want to consider add some 'Lesson Notes' (see below) to provide some extra details to parents.
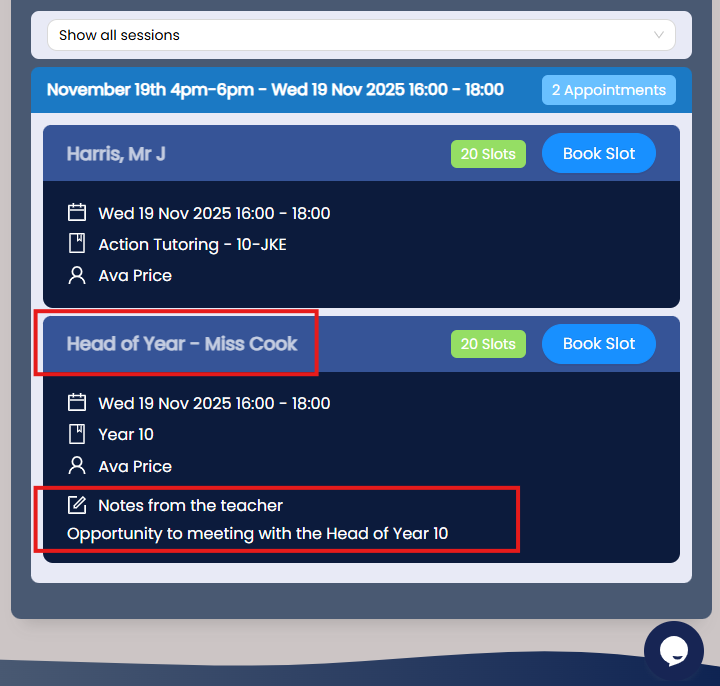
Example parent view when Group Title is changed and Lesson Notes added
Duplicate Lesson(s)
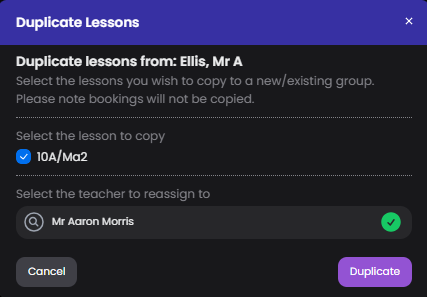
If you have more than one teacher for a class/subject you can duplicate the group and assign to the other teacher.
Lesson Notes
For each lesson/group you can add some additional information about the meeting. This appears in the parent login with each invite.
Reassign Lesson
When you add your lessons into the event you may want to change the teacher that is hosting the meetings. It is best practice to get the correct teachers assigned before you open the event to parents. When a teacher has bookings these first need to be removed before the lesson can re-assigned.
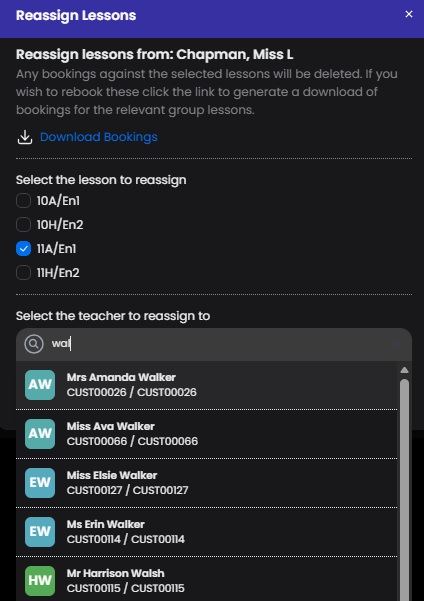
Reassign before any bookings
Simply select the lesson to reassign and the choose the teacher.
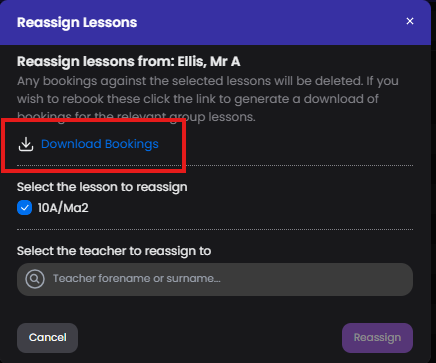
Reassign when bookings are present
If you have parent bookings, these need to be removed before the lesson can be reassigned. Download your bookings (this generates an excel document) so you can add them back in later.
View/Edit Students
This advanced feature will allow you to specific additional students you would like added to group/lesson. This can be used to remove students too (useful for split classes). The view/edit modal has two lists of student names. The left list shows all the selected students that are present in your MIS for the lesson (in this example 10A/Ma2). The right list is a list of ALL the students in your MIS.
To add students - search for the student name and add (these students will be highlighted in green)
To remove students - simply untick their names (these students will highlighted in red)
You will noticed your selected student quantity changes. Save your changes.
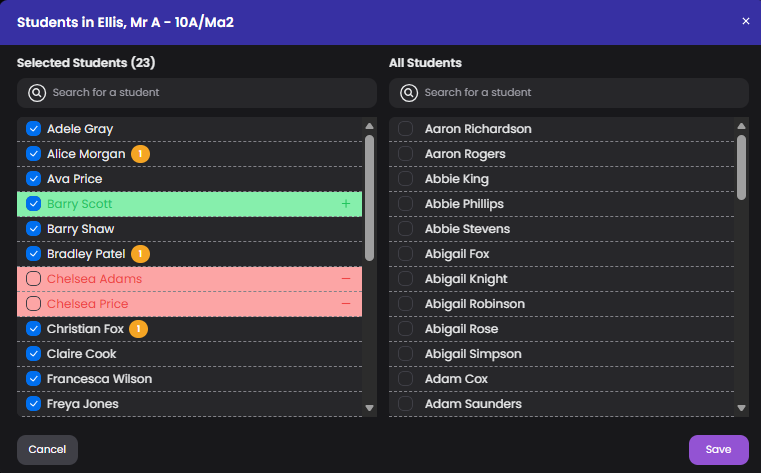
Note : students with orange number indicates they already have bookings for this event. Removing them from the group/lesson will delete the bookings.
Make Bookings
As a event manager or administrator user you can make bookings at anytime. Open the Make Bookings modal and choose the student, guardian and a timeslot. Then select Create Booking. You can repeat process if you need to make other bookings before closing.
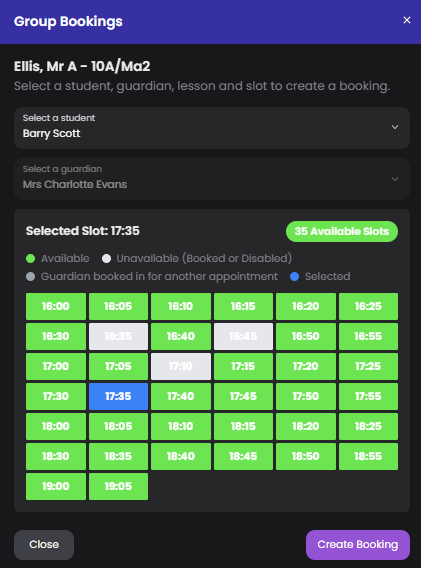
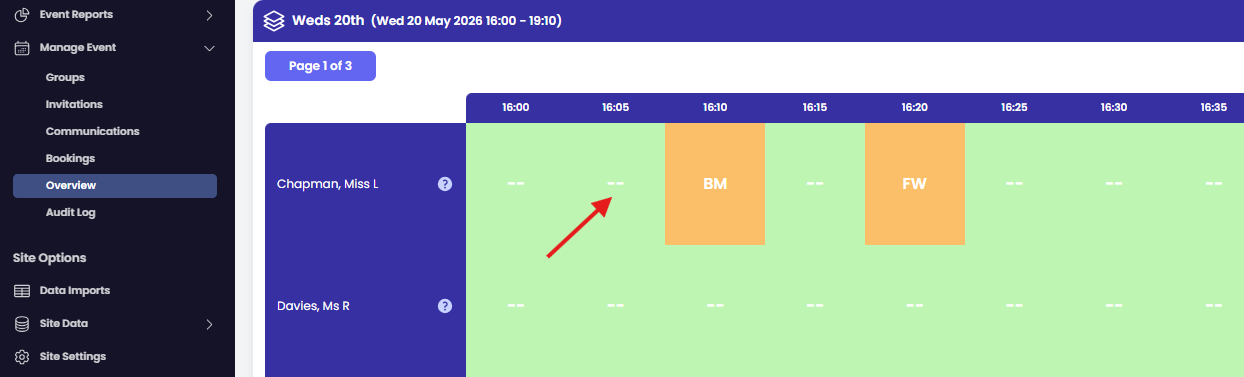
Alternatively you can make Bookings directly from the 'Overview' page. Simply click on any timeslot.