Teachers Guide - Parent Meetings - Essentials
The teacher’s login is optimised for desktop computer, laptop or tablet display resolutions. If you try to login and view on a mobile phone, you will be advised that your device is not supported.
This is the guide for basic use and getting started quickly. For more Teachers login features please see the Teachers guide - extra features
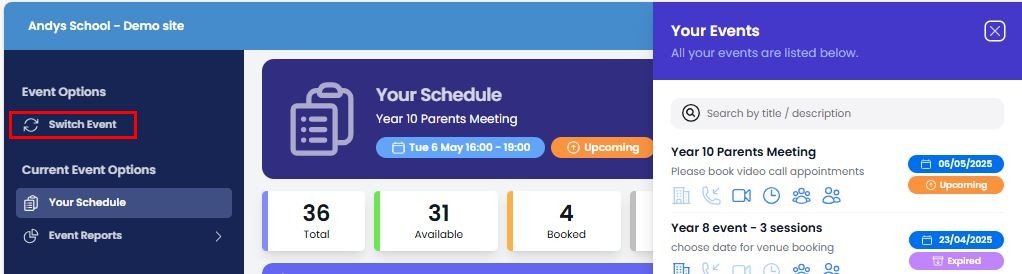
Switch Event
After login you will always see your next upcoming event. Use switch event to open the preview pane and select a different event.
Your Schedule
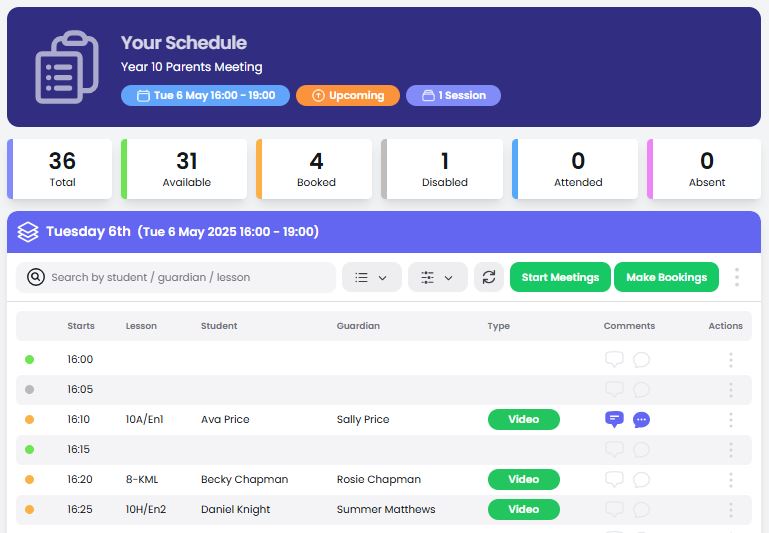
The schedule page shows a summary of all your appointments and will allow you to do the following…..
Essential actions:
- Make Bookings *
- Start Meetings modal
Other actions :
- Disable slots to manage availability *
- Download bookings schedule
- View Lessons and Students
- View event detail, and statistics
- Add your comments/notes
- View parent comments
* These options may not be available if the event/system administrator hasn’t provided access to you
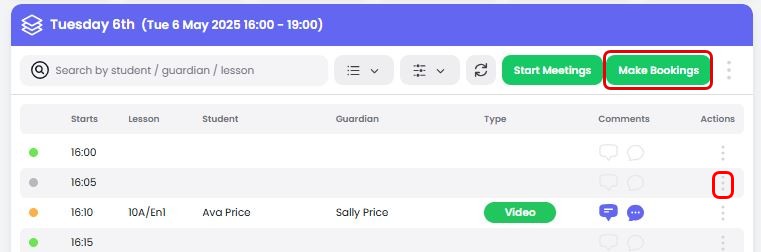
Make Bookings
Select Make Bookings or Book Slot from the Actions ⋮ menu.
You can now select any available timeslot and the student (and choose lesson if applicable).
Select Create Booking to confirm each booking in turn. Add other bookings as required and then select ‘Close’ to review your updated schedule.

(Note : Making Bookings may be restricted by event/system administrator)
Start Meetings modal
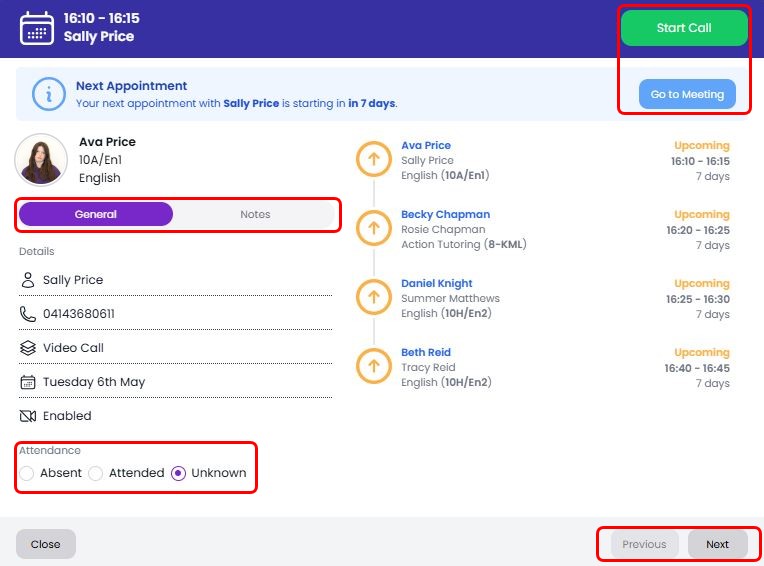
Select Start Meetings to open the modal
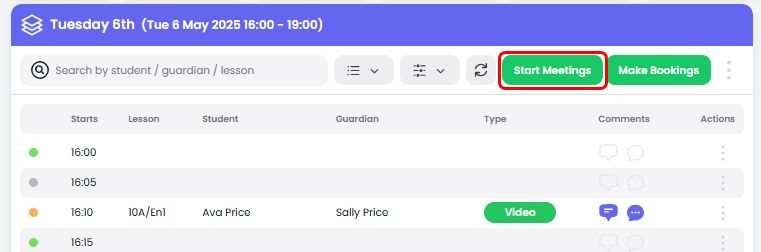
The Start Meetings modal will allow you to view your appointment schedule, meeting details, your notes, and start the video call for each meeting. You will get a prompt indicating your next appointment – Select Go to Meeting before your next appointment starts. After you complete each parent meeting record the parent attendance.
Video Calls (if enabled for your event)
Go to your next meeting and when ready select Start Call to begin. If you see the prompt to 'allow SchoolBooking to use you microphone and camera'', please accept. Check that you see the message ‘Everything is working properly’ and you have the correct camera and microphone selected.
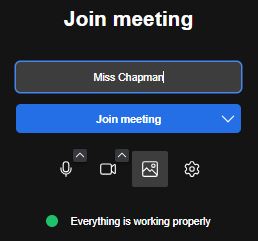
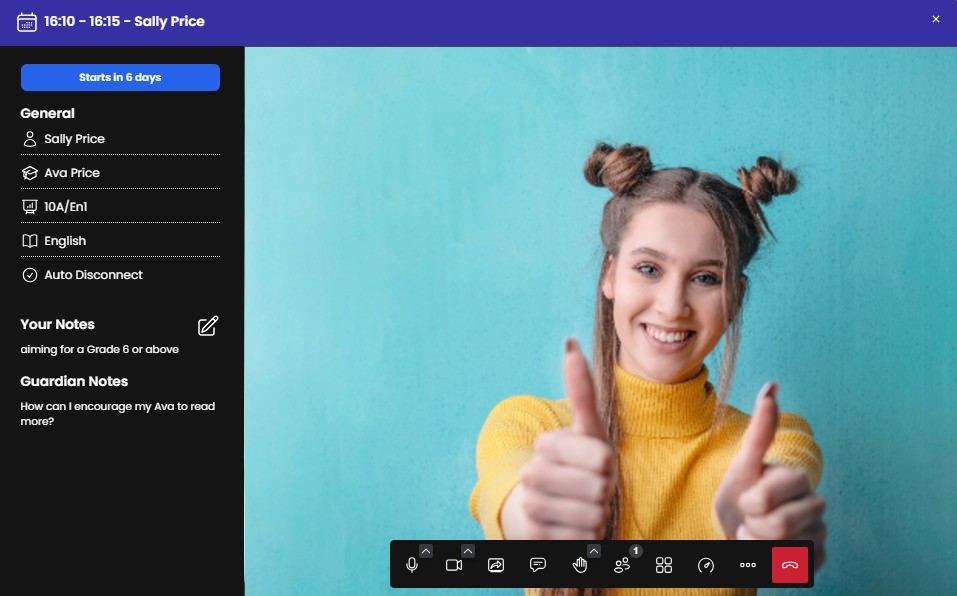
Now Select Join Meeting . You will now be the moderator of the meeting and like other video conferencing solutions you can adjust your video settings (blur/backgrounds), share your screen and close the call (using the red hang up call icon).
The video call window will have an info panel so you can view and edit meeting notes. If video call auto disconnect is enabled by your event/system administrator your call will disconnect when the timer reaches zero (the text will change to orange when there is less than 1 minute, red for the last 10 seconds).
Adding other teachers to your meetings
If you would like to add other teachers to your meetings or perhaps share part of your schedule you will need download and email a PDF document and send it to them (this will contain video call links). From Your Schedule page choose Download Bookings PDF from the Actions ⋮ menu
Teacher Guide - extra features
For more Teacher login features please see the Teachers guide - extra features